

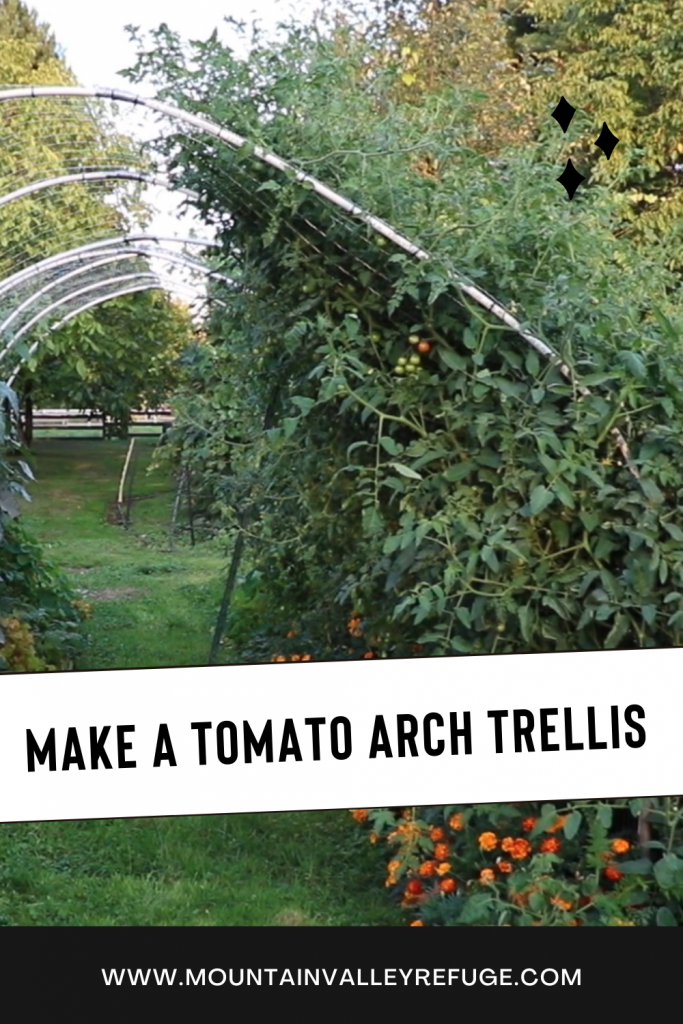
Create a tomato arch trellis, and you will score a bounty of fruit!
Creating a tomato arch trellis is a great way for any gardener to extend the growth path for their tomatoes. When you create an arch trellis, the tomato plants have a runway to grow on. Ours tomato plants thrived on their arch trellis. In the end, the plants produced a bounty of fruit at harvest time! We are going to show you how we did it, so that you can do it in your garden.

Tools you will need
You should plan to have ready the following tools when taking on the project to create a tomato arch trellis for your grand harvest. This post contains affiliate links, which means I make a small commission at no extra cost to you. See my full disclosure here.
| Product Image | Product Name | Buy |
|---|---|---|
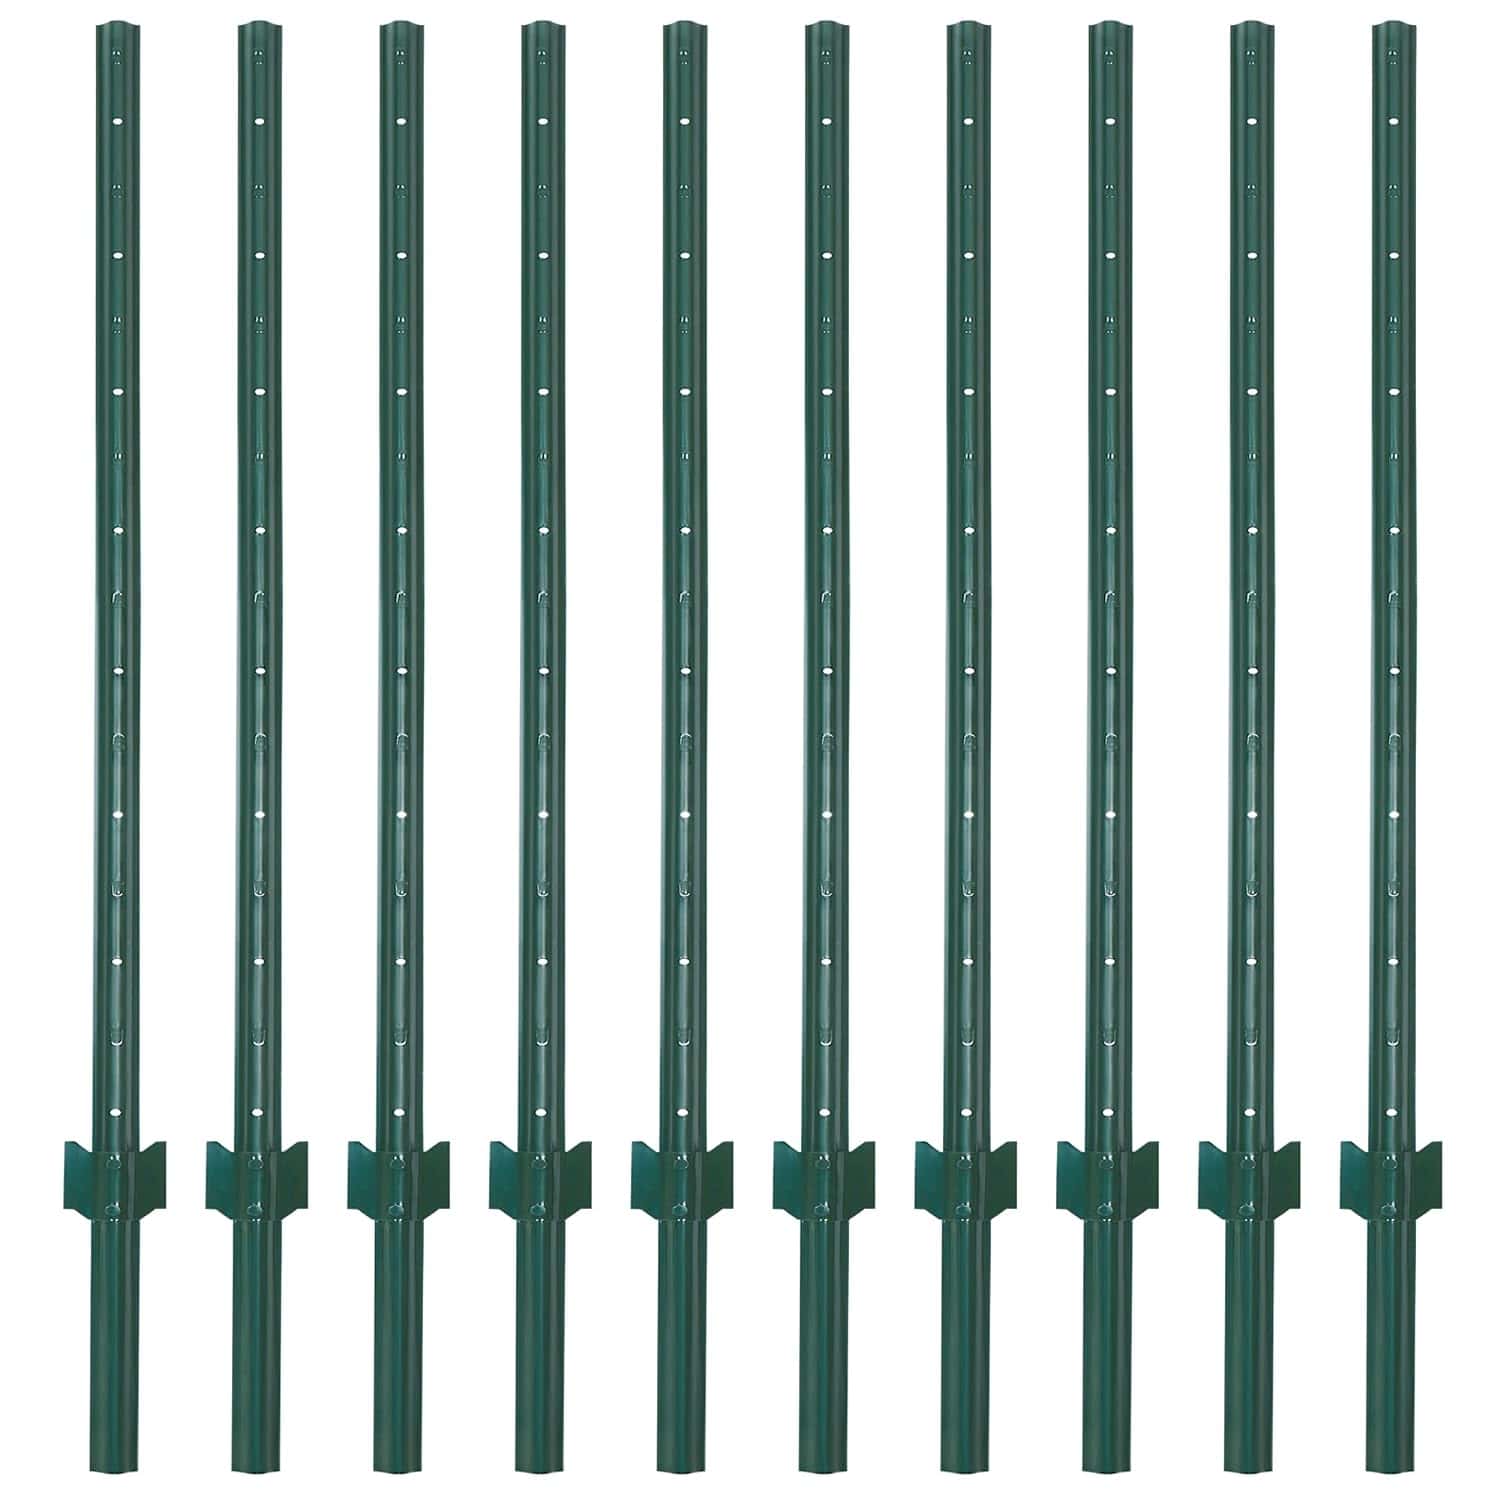 | LADECH 4-5-6-7 Feet Sturdy Duty Metal Fence Post – Garden U Post for Fencing - 10 Pack (7 Feet) | View on Amazon $313.56 (for a pack of 10) |
 | Fence Post Driver 11 lb. T Post Driver with Handle | View on Amazon $56.99 |
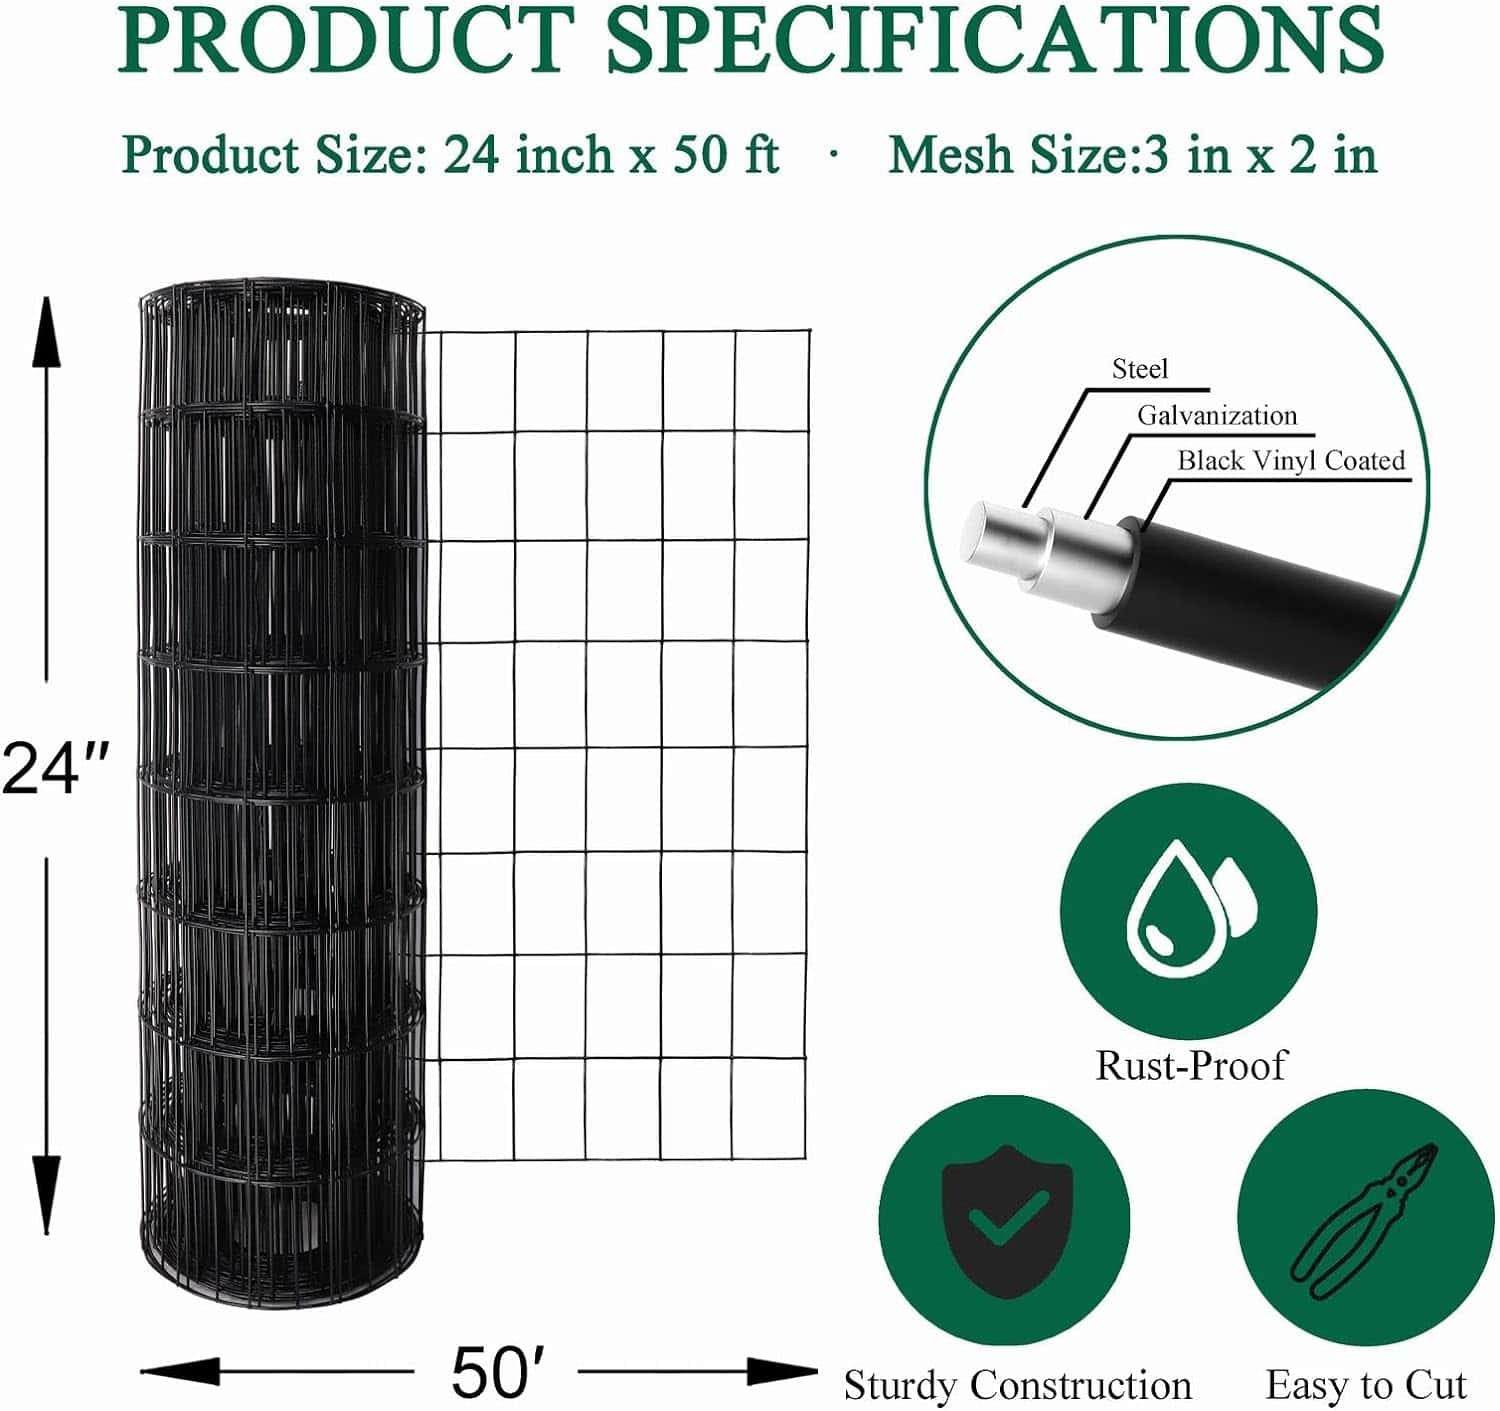
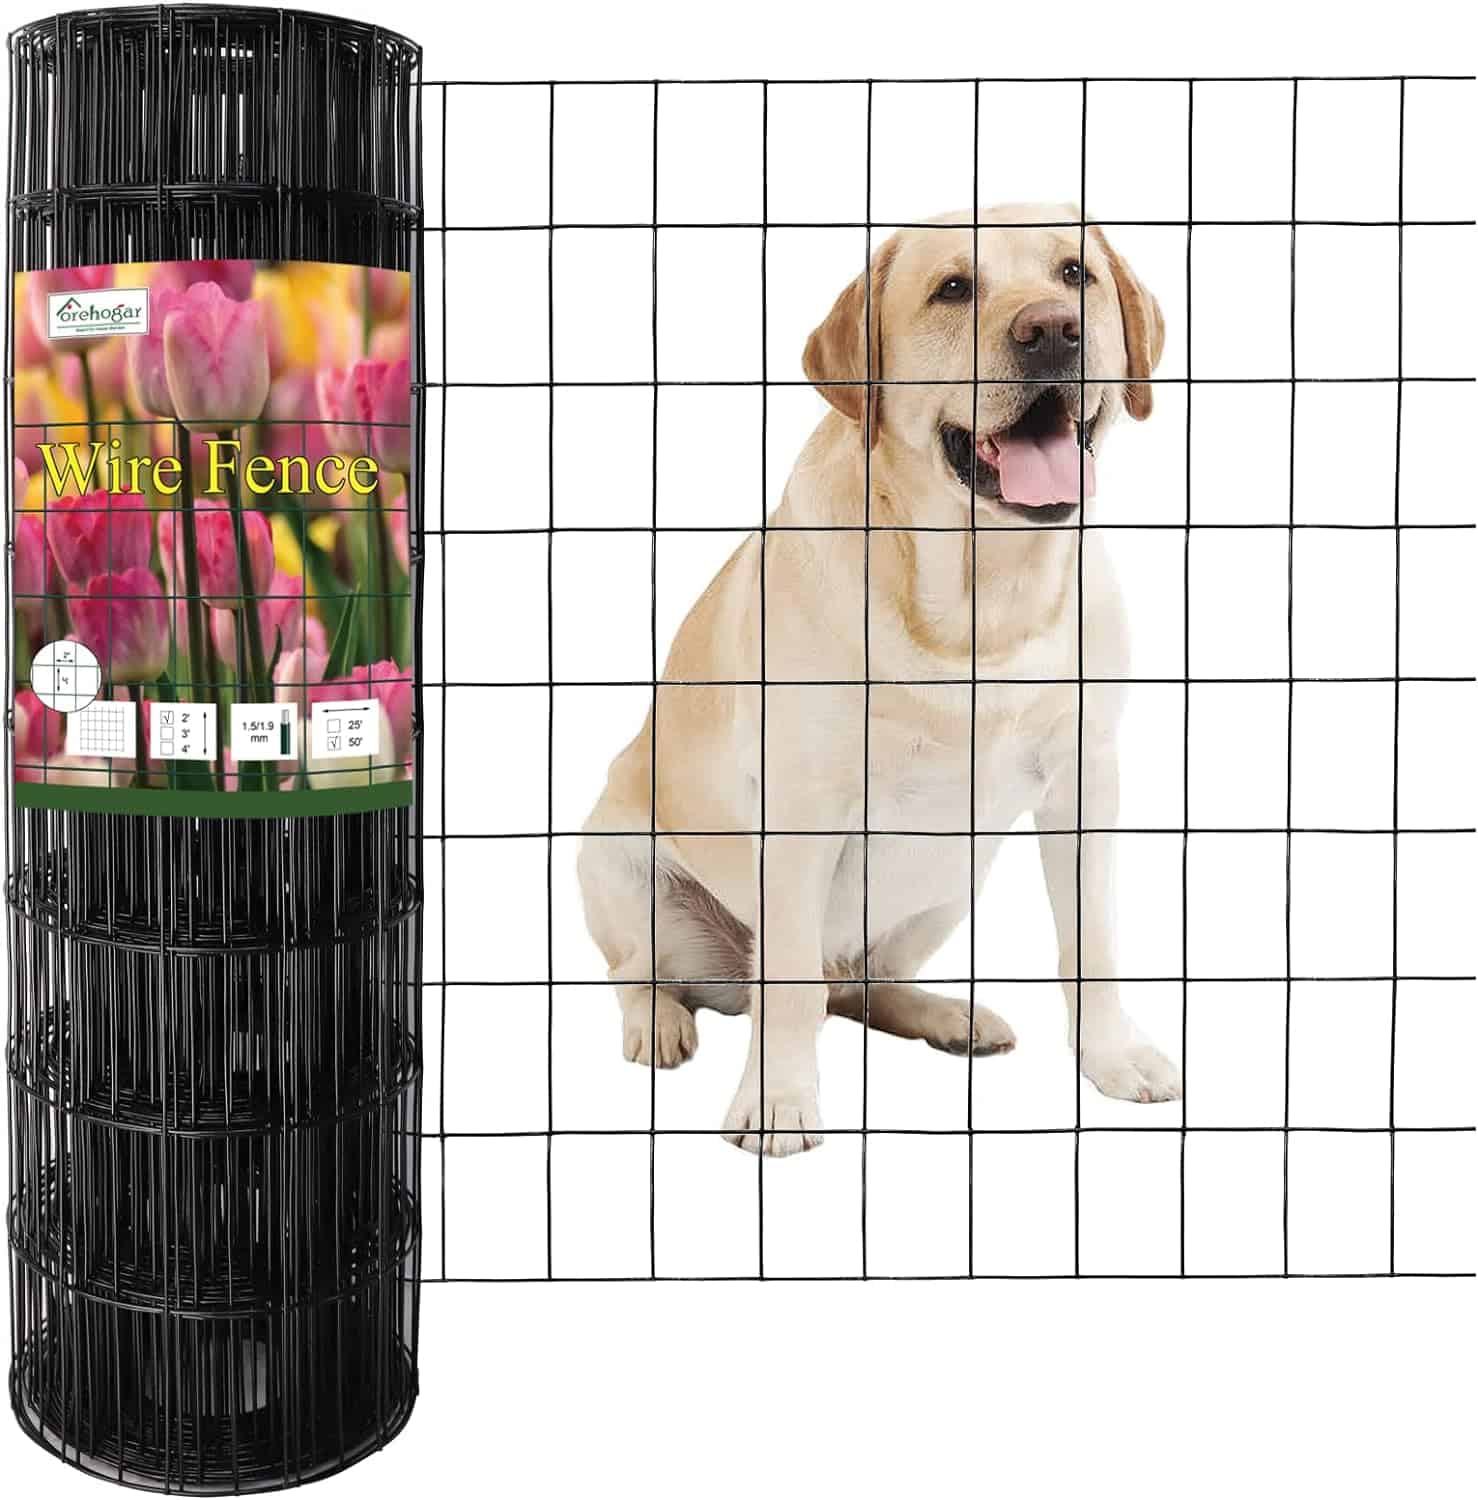 | FOREHOGAR Black PVC Coated Welded Wire Fence 24 Inch x 50 Foot, 2 Inch x 3 Inch 16GA, Garden Border Fencing Roll Vinyl Coating Metal Wire Mesh for Yard Vegetable Plant Protection Poultry Netting | View on Amazon $145.62 (for a 50 foot roll) |
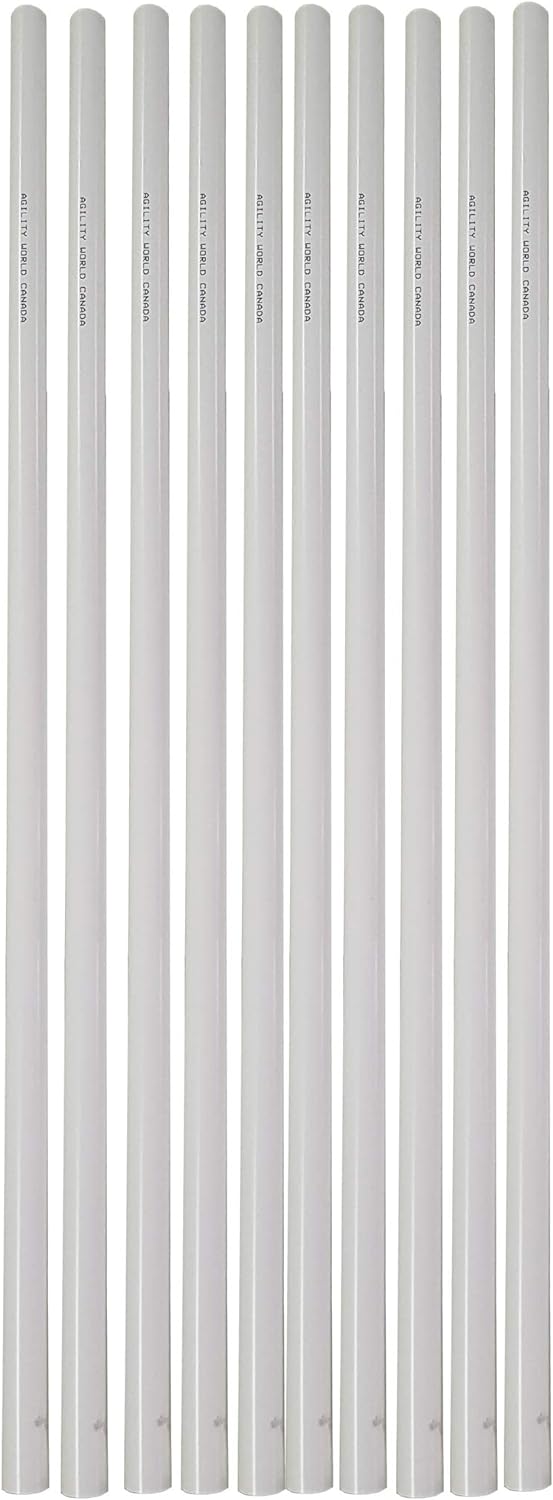 | Handlers Choice Furniture Grade PVC Pipe 1-Inch x 5-Foot Lengths Pack of 10 | View on Amazon $121.95 (for a pack of 10) |
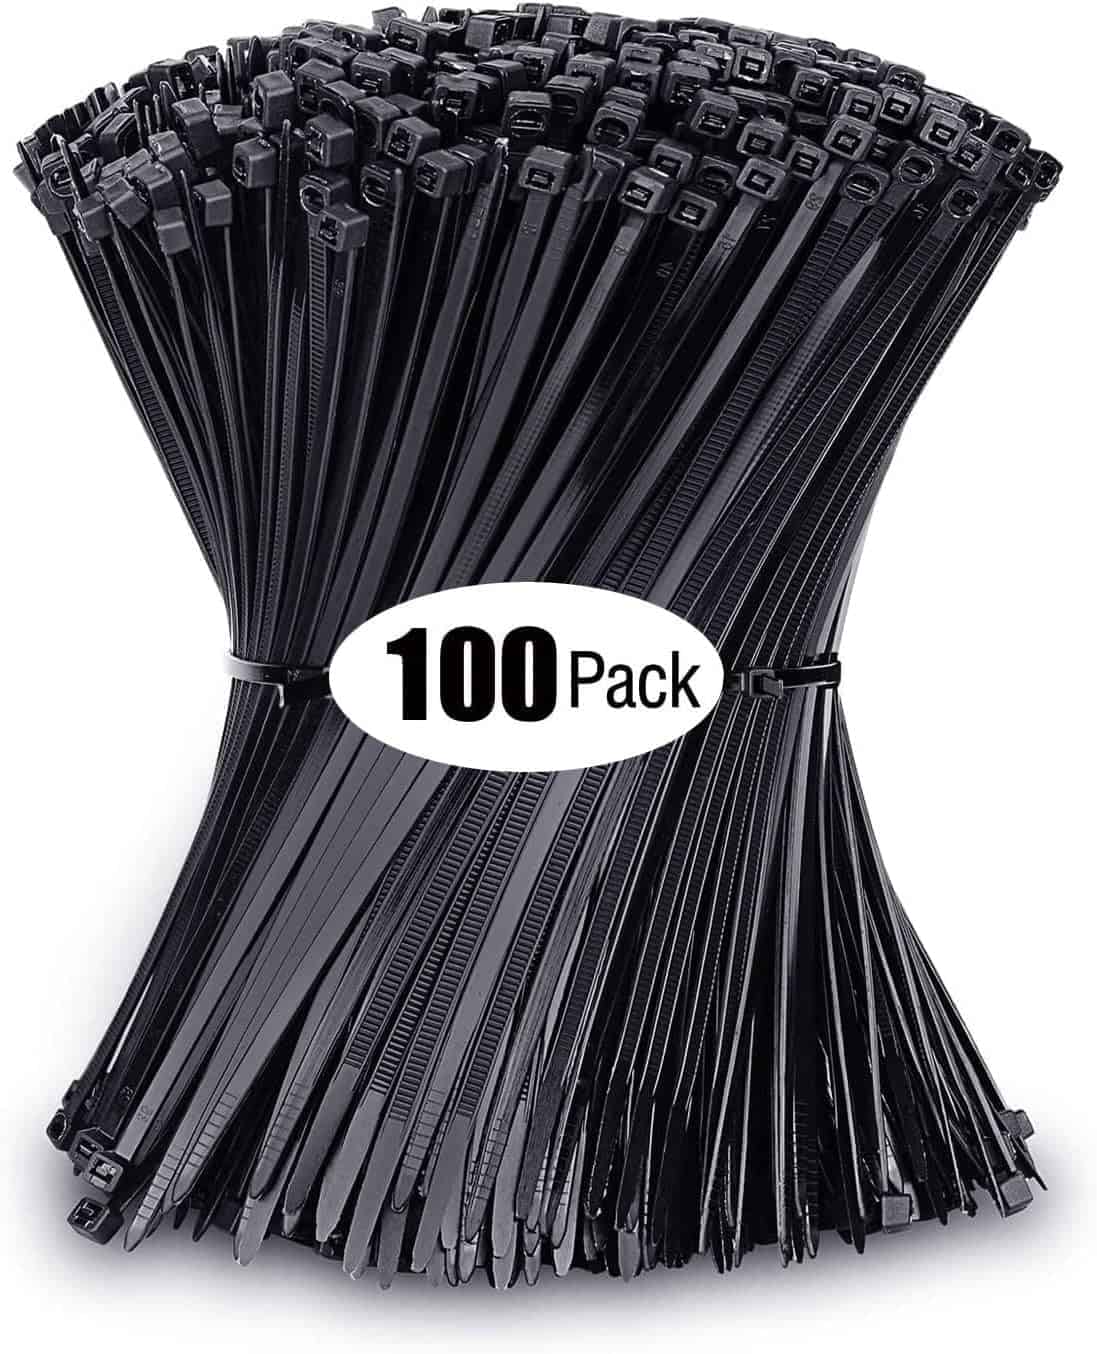 | Cable Zip Ties Heavy Duty 12 Inch, Premium Plastic Wire Ties with 60 Pounds Tensile Strength, Self-Locking Black Nylon Zip Ties for Indoor and Outdoor | View on Amazon $9.88 |
 | CRAFTSMAN CMHT81644 CFT LONG NOSE PLIER-6IN | View on Amazon $15.90 |
 | PerkHomy 1100FT 2mm Natural Jute Twine String, Brown Twine Rope for Crafts, Gift Wrapping, Packing, Gardening and Wedding Decor (Natural Jute, 1100FT * 2mm... | View on Amazon $14.99 |
Directions to create a tomato trellis
#1 Add a line of fencing to two garden beds side by side.
To create a tomato arch trellis, you must being with the foundation fencing in your garden beds.
For our fencing, we used 4 feet wide 2×4 inch grid fence, which is also sometimes called a “cattle panel”.
Hammer your T-posts into the ground about 4 feet apart. Make sure to knock them a fair ways deep into the ground to ensure the posts will be very sturdy (to hold the weight of your many tomatoes, of course!) This is easily done with a T-post driver.
Then line the T-posts with the fencing. You can use zip ties to hold the fence to the T-posts.
#2 Line PVC pipes from one garden bed to the other, along the T-posts
PVC pipes are similar to plumbing pipes, but they come in many sizes!
When you plan to create a tomato arch trellis, you should consider the weight of the bounty you anticipate as your reward.
The width of the 1/2 inch PVC pipes we used worked well. However, by the end of the season, the plants and their fruit weighed down heavily on our trellis. That is why we think for the next garden season, the 1 inch PVC pipes would be better. Here I’ve linked 5 feet long PVC pipes as I’m not able to find suppliers for 10 feet long online. You can however tie these together with PVC fittings and duct tape. This is what we did just with 10 feet long pipes. We could not find 20 feet long PVC pipes that were within our budget, so we purchased two 10 feet wide pipes and combined them with a cupling. To hold the cupling and PVC pipes together, we used good old duct tape.
Depending on the size of the tomatoes you plan to grow and how many plants will be close together, plan for sturdy pipes that will hold the weight of your plants and their fruit.
Alternatively, you could also move the T-posts closer together if you know that you will be planting many plants side by side that will produce large tomatoes.
The length of the pipe should be the length between your beds, and then double that measurement. You double the measurement in order to get extra pipe for the half moon curve that creates the arch.
Simple math: if your two garden beds are 10 feet apart, purchase a 20 feet long PVC pipe.
#3 Roll out your fence and cut it to the length that your arch will be
This is easiest done if you roll out the fence on flat ground. Generally when you buy your fencing it will be sold in a roll. So the fence will be in a habit of being in a roll. It helps to flatten the section out at least once.
Now, I’m thinking that you will have more than a 4 feet wide trellis. If you are like me, you planted way more than 2 varieties of tomatoes. Or as I did in previous years, you most likely bought more than 3 plants from the store. Therefore, I’m going to assume that you will be creating arches for multiple 4 foot sections. However, if you are only creating one 4 foot section, measure the length of the PVC pipe arch and cut fence according.
If you are creating a few sections of arch, the first section can be a a measurement guessing game. Start by measuring the length of your arch with string, and add a few inches to be safe.
Once you have your first arch up, you can use twine to measure the length of you first fence. Once you have an accurate measurement, repeat cuts for your other sections.

#4 Fold fencing over PVC and secure with zip ties
You will need two people for this next step. One person on a ladder, and the second person on the ground.
The person on the ground will hand the fencing to the person on the ladder. We found it easier to roll the cut fence into a roll and hand it to the person on the ladder in a roll. That will make it easier on the ladder to roll out evenly over the PVC piped arch.
The person on the ground secure the fence to the PVC pipes with zip ties. The person on the ladder holds the fencing in place.

#5 Repeat steps 1-4 for other sections
Once you have one section completed, repeat for other sections.
Another good tip: unfold your fencing against the grain of the fold. In other words, unroll it in the opposite direction that the fence was rolled in when you purchased it.
Step 6: Guide your tomato plants onto their new arched trellis
Spend time guiding each plant onto the trellis. After your efforts to create a tomato arch trellis for your plants, this final step is key. It can be a time consuming step depending on how much your tomatoes have grown by the time you get to creating their trellis. The cattle fencing has helpful pockets that make it easy for the leaves of the plant to rest on.
This tomato arch trellis will create for your plants an extended runway. Imaging it being like a new home for the plants, where they can unpack and roam around.
Finally, you now wait for the bounty. At this point, the trellis is secure and the plants are ready to march into their new future. The set up is well worth the effort and pocket money.
Tool List for a Garden Arch Trellis
T-Posts + T Post driver if you don’t have one
Fencing (Cattle Panel)
PVC pipes (5 feet long, I cannot find any 10 feet suppliers online) + fittings to attach poles together.
Twine or string for tying up the plants
Ladder
Buddy/friend/neighbour/a human (to catch fence on ladder)
This post contains affiliate links, which means I make a small commission at no extra cost to you. See my full disclosure here.
Other ideas
Share photos of your trellis ideas, or show us how the trellis faired in your garden.
More about us
We share do-it-yourself content to show the world that you can do most things yourself. Sometimes, it helps when you have seen someone else do it. Like monkey see – monkey do. It also establishes an image that you can refer to as a baseline when tackling a project for the first time.
For more about us, read our story and what we are interested in.
To read more do it yourself projects, send us a message at to join our email list.
Pin it for later


Great questions! We space out tomato plants much closer together than recommended, but I prune them quite intensely for the first 2 months. This keeps the air flowing well between plants so they don’t get powdery mildew, and I keep only 2 main branches from each plant for it to put it’s resources into. With our T-posts about 4 feet apart, we’ve planted about 3 plants per 4 feet. In Some sections, that works out well, and in others one plant hugs a little closer to the T-post, if that makes sense.
For the pruning I remove suckers and extra branches I missed in former checks intensely so that only two stems remain throughout the season. At least until they get up to the arch, then I let them go wild until the end of the season. I’ve been showing a bit more of our tomato plants in my garden tours this summer on YouTube. Hope that helps!
Those look great! How did you space your tomatoes, cattle panels are usually 51″, how many plants per panel? Do you prune off any suckers?
I’m totally going to do this this year despite my toddler helping me!
Wow what a cute idea our tomatoes are growing wild in our yard and this would be the perfect thing to make it less chaotic and more beautiful!
LOVE this! So helpful!
Great video and post. I like that you used pvc pipes in your trellis. Thanks!
These tomato arches are so beautiful! I never would have thought about arching them like that. Thanks for the step-by-step directions, the video is super helpful, too! I definitely want to try this!
Wow! What a dandy idea! I’ve been growing tomatoes for most of my life and i’ve never seen a trellis exactly like this for growing tomatoes. Really great idea. And the video was super helpful, too! (I would, however, recommend a safety tip, to wear safety goggles when working with the fencing. I’ve had that stuff try to roll back up and cut me on my face.)
Thank you so much for sharing this tutorial. I want to do this for our garden and could not find a good tutorial anywhere.